
 1.800.265.2961
The Ultimate Spring Cleaning Kitchen Checklist
It’s that time of year again — get ready for some spring cleaning in your kitchen!
A regular deep clean of your culinary haven is necessary to reorganize, disinfect, and declutter. Plus, a clean kitchen serves as extra motivation when you’re cooking!
However, it can often be challenging to decide where to begin. Trust us when we say that your spring cleaning will be more successful if you stick to a handy checklist. After all, most things in life flow better when they are driven by rhythm and rhyme.
For all your spring cleaning needs, we’re here to lend you a hand (and a broom)! Read on to discover the ultimate spring cleaning kitchen checklist.
Spring Cleaning Kitchen Tool Guide
Depending on the size of your kitchen, spring cleaning can last anywhere from one to four hours. Take note, because these are the basic tools that you will be needing to give your kitchen a nice deep cleaning.
- Boxes and bags for decluttering (separate bags for recyclables, trash, and donations)
- Trash bins
- Step stool
- Microfibre cleaning cloths
- Broom or vacuum cleaner
- Mop
- Rubber gloves
- All-purpose cleaner
- Baking soda
- Floor cleaner
- Glass cleaner
- Furniture polish
- Oven cleaner
6 Steps to Spring Clean Your Kitchen
1. Start With An Empty Sink
Before you delve into any spring cleaning tasks in the kitchen, it’s of utmost importance that you empty the sink. So, throw on your rubber gloves, grab the dishwashing liquid and get all those dishes clean. Otherwise, place them in the dishwasher to run once you’re through with the rest of the items on this list.
2. Get Rid of Trash and Declutter
Next, pick up all the trash. Open a few garbage bags and toss in any garbage that’s lying around.
After all the food waste, empty bottles, and other trash is sorted, it’s time to declutter. Do you have old plates that need to be donated? Or perhaps they aren’t microwave-safe and lead-free? This would be the perfect opportunity to place them in a donation box and shop for a new set that you can safely place into the microwave. Microwaveable plates save you time and effort, as you won’t need to transfer your food to a different container everytime you need to heat it up.
3. Clean All Vertical Surfaces
Now that you have collected all the trash, filled up boxes for donating, and carried out an appliance evaluation, it’s time to clean all the vertical surfaces. Go from top to bottom by cleaning the following:
Remove Curtains
Over time, curtains tend to collect a lot of dust and food residue, especially the ones in the kitchen. Launder them and let them dry while you work. If your kitchen has blinds shielding the windows rather than curtains, dust them off with a microfibre cleaning cloth.
Dust the Ceiling Fan
If you have a ceiling fan, the odds are that it has accumulated a lot of dust and grease by now. Stand on your step stool, spray all-purpose cleaner on a microfibre cloth, and get to work!
Clean Wall Fixtures
If you have any art hanging on the walls, take them down to polish the glass of their frames and set them aside while you clean the walls.
Dust the Walls
Take it from the ceiling, to the tops of the shelves, corners, walls, window sills, cabinet doors, and baseboards. It is important to follow that specific order to prevent larger amounts of dust and grime from spreading.
Now, you can re-hang your frames!
Hit the Lights
Switch off the lights and allow the bulbs to cool down while you handle a different task.
Wipe the Windows
While the lightbulbs cool down, clean the windows with glass polish and microfibre cloths. Ddo your spring cleaning during the daytime so you will have enough daylight while the lights are switched off.
Revisit the Lights
Clean your light fixtures, bulbs, and other glass fixtures with glass cleaner and microfibre cloths.
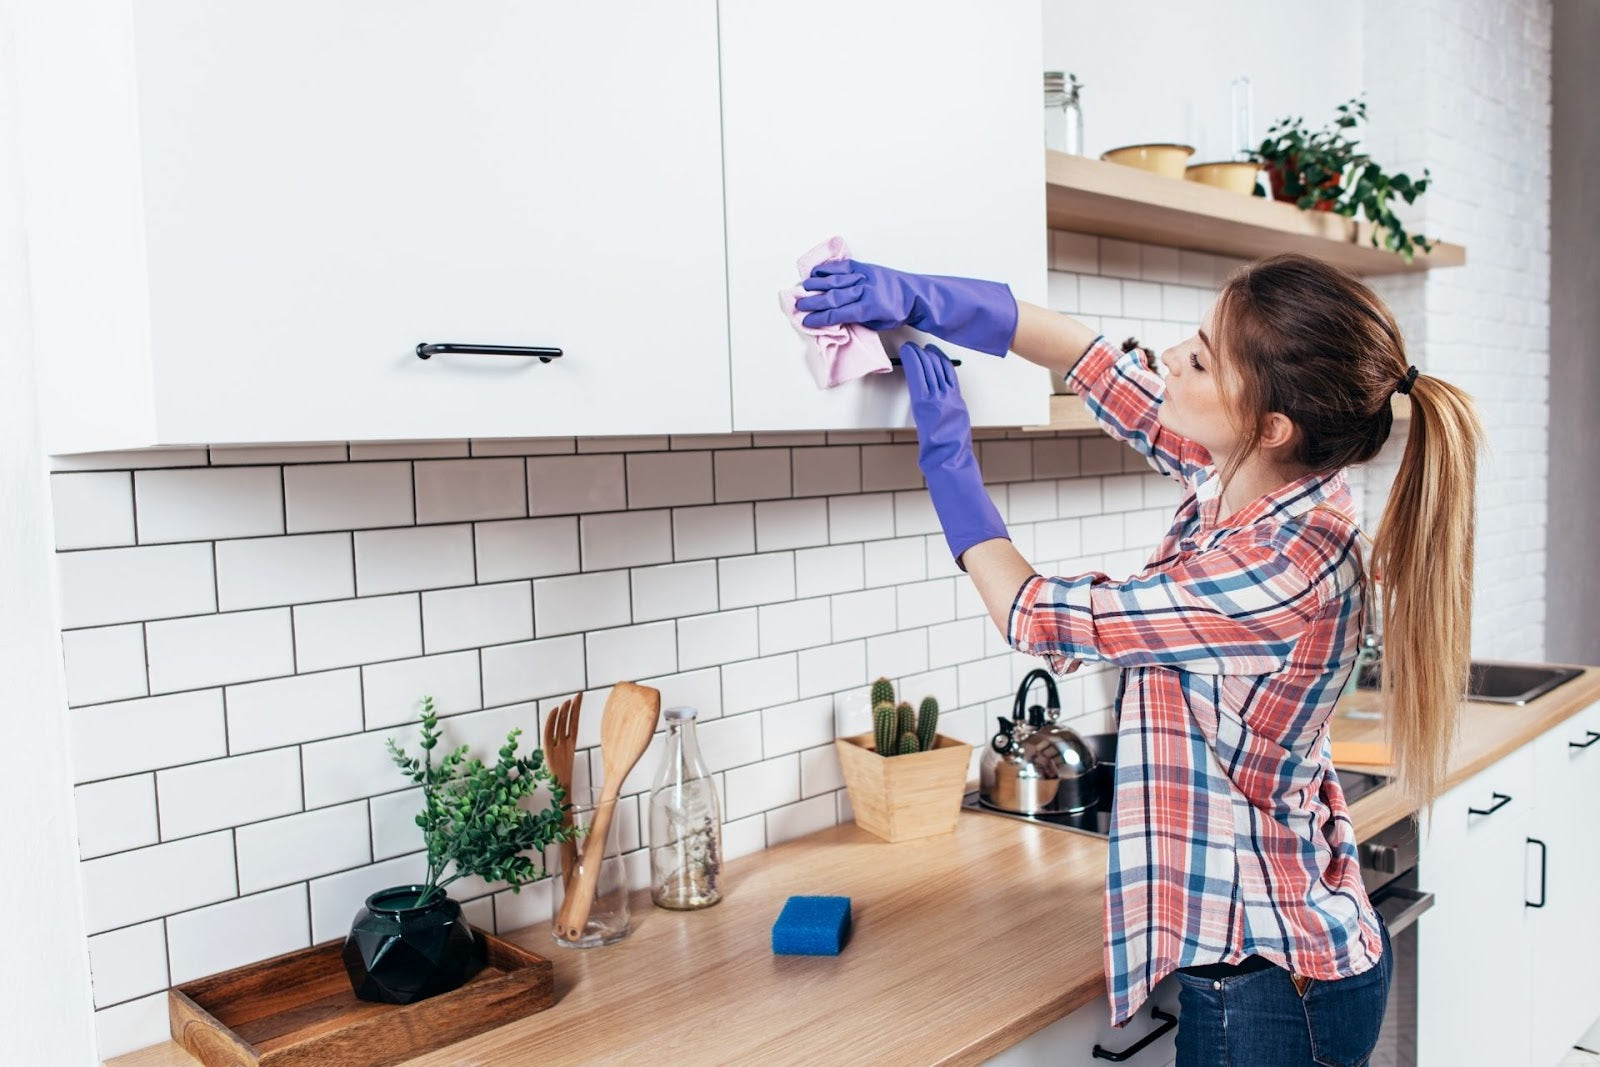
4. Cabinets, Drawers, and Fridge
With the help of your step stool and cleaning tools, de-grease the tops of your cabinets if they do not reach the ceiling.
Afterwards, remove the contents of your cabinets and drawers to clean the interior. Conduct a full-fledged inspection and purge any unnecessary items in the process. We’re pretty sure that there is at least one item that’s a few days past its expiry date in there.
Once the interior is clean, spray and wipe the exterior. Make it a point to really get the handles and hinges, as those are known as the favourite hideouts of dust and dirt. Oh, and don’t forget to clean out the fridge and wipe away all that grease that built up in the hard-to-reach corners.
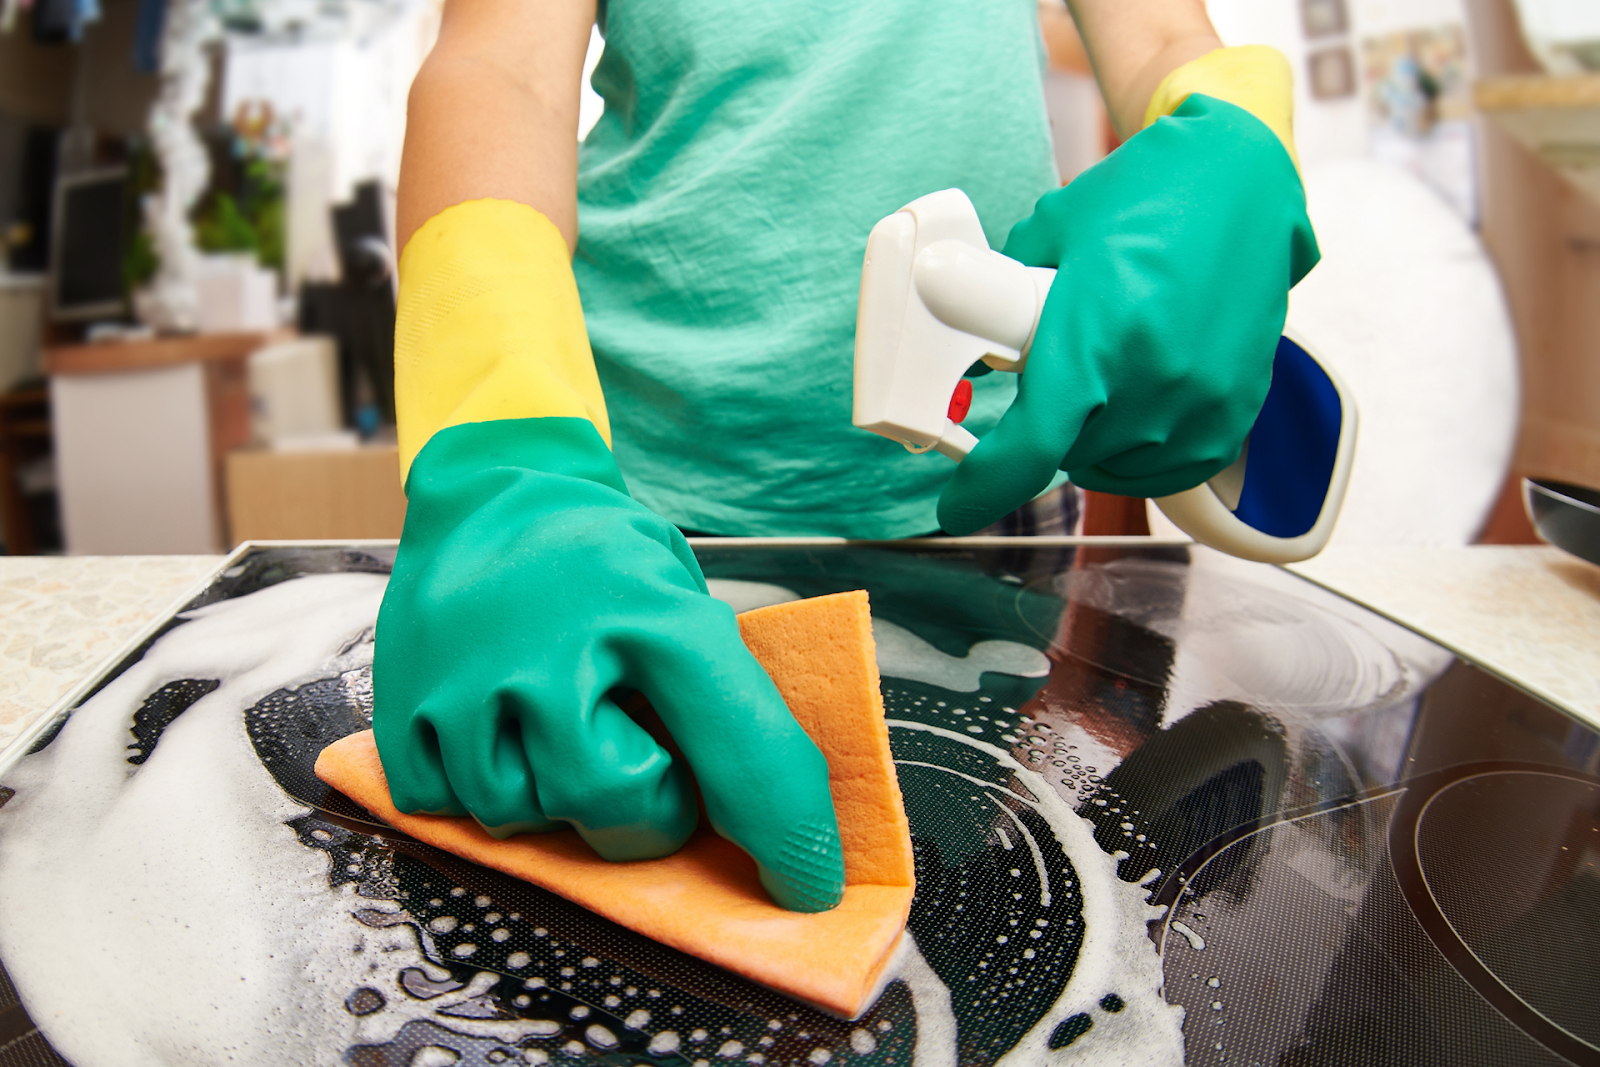
5. Countertops and Appliances
Start by scrubbing the sink and rinsing it with warm soapy water. After that, empty the countertops and other high-touch areas to clean them with soapy water and a microfibre cloth.
Finally, clean all appliances by checking them for grime and using an all-purpose cleaner to de-grease them.
6. The Finishing Touches
Spring cleaning is exhausting but rewarding once you see the squeaky clean results. At this point, you’re almost at the end of your spring cleaning adventure, we promise!
The next step is to take out the trash, wash the trash cans with soapy water, and let them air-dry in the sunlight for a natural deodorizing and disinfecting perk.
Then, sweep or vacuum the floor, and top it off with a mopping session. Once your trash cans are dry, catch any drips with paper towels and line them with trash bags. Don’t forget to re-hang your curtains, as they are most likely dry by now!
And congratulations, you have successfully spring-cleaned your kitchen! You deserve a cocktail to celebrate.
Upgrade Your Kitchen with S.T.O.P Restaurant Supply
Another key factor of kitchen spring cleaning is upgrading. When you declutter, it’s important to assess which kitchen appliances and cookware need to be retired or donated.
It’s also the perfect time to evaluate whether you can upgrade to multi-purpose appliances. Why would you want three different devices sitting on the counter when you could have one that does it all? For example, a roaster oven is a time-saving and space-saving solution because it can roast, simmer, and bake.
At S.T.O.P Restaurant Supply, we offer a wide range of culinary necessities that will make your kitchen experience more convenient and more enjoyable.
Browse our extensive collection of kitchen appliances to revamp your kitchen in style!


Leave a comment